Want more reservations for your Bay Area restaurant? Google is your go-to tool. Here’s how you can make it happen:
Why it matters: Over 83% of diners rely on Google to find local restaurants. If your profile isn’t optimized, potential customers might choose competitors. Follow these steps to stand out in the Bay Area’s competitive dining scene and drive more bookings.
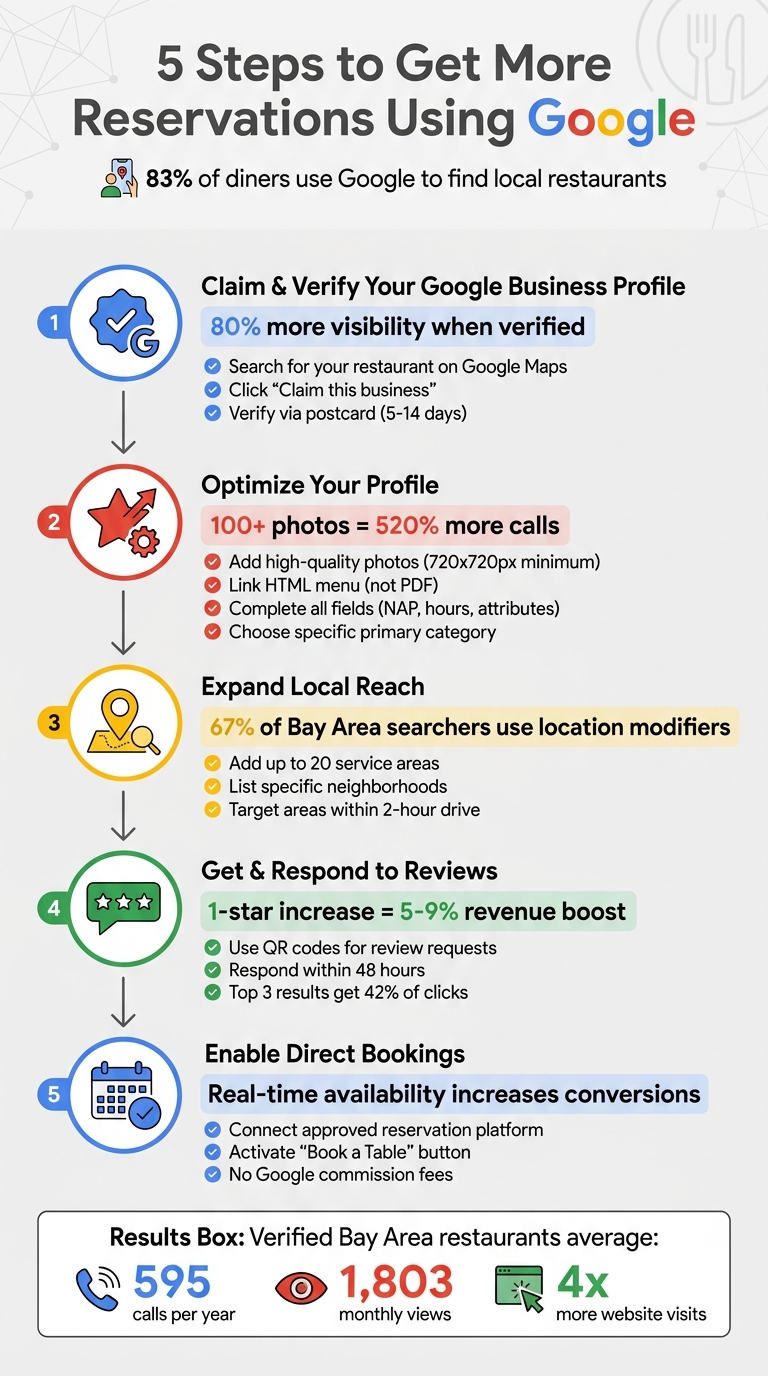
5 Steps to Get More Restaurant Reservations Using Google
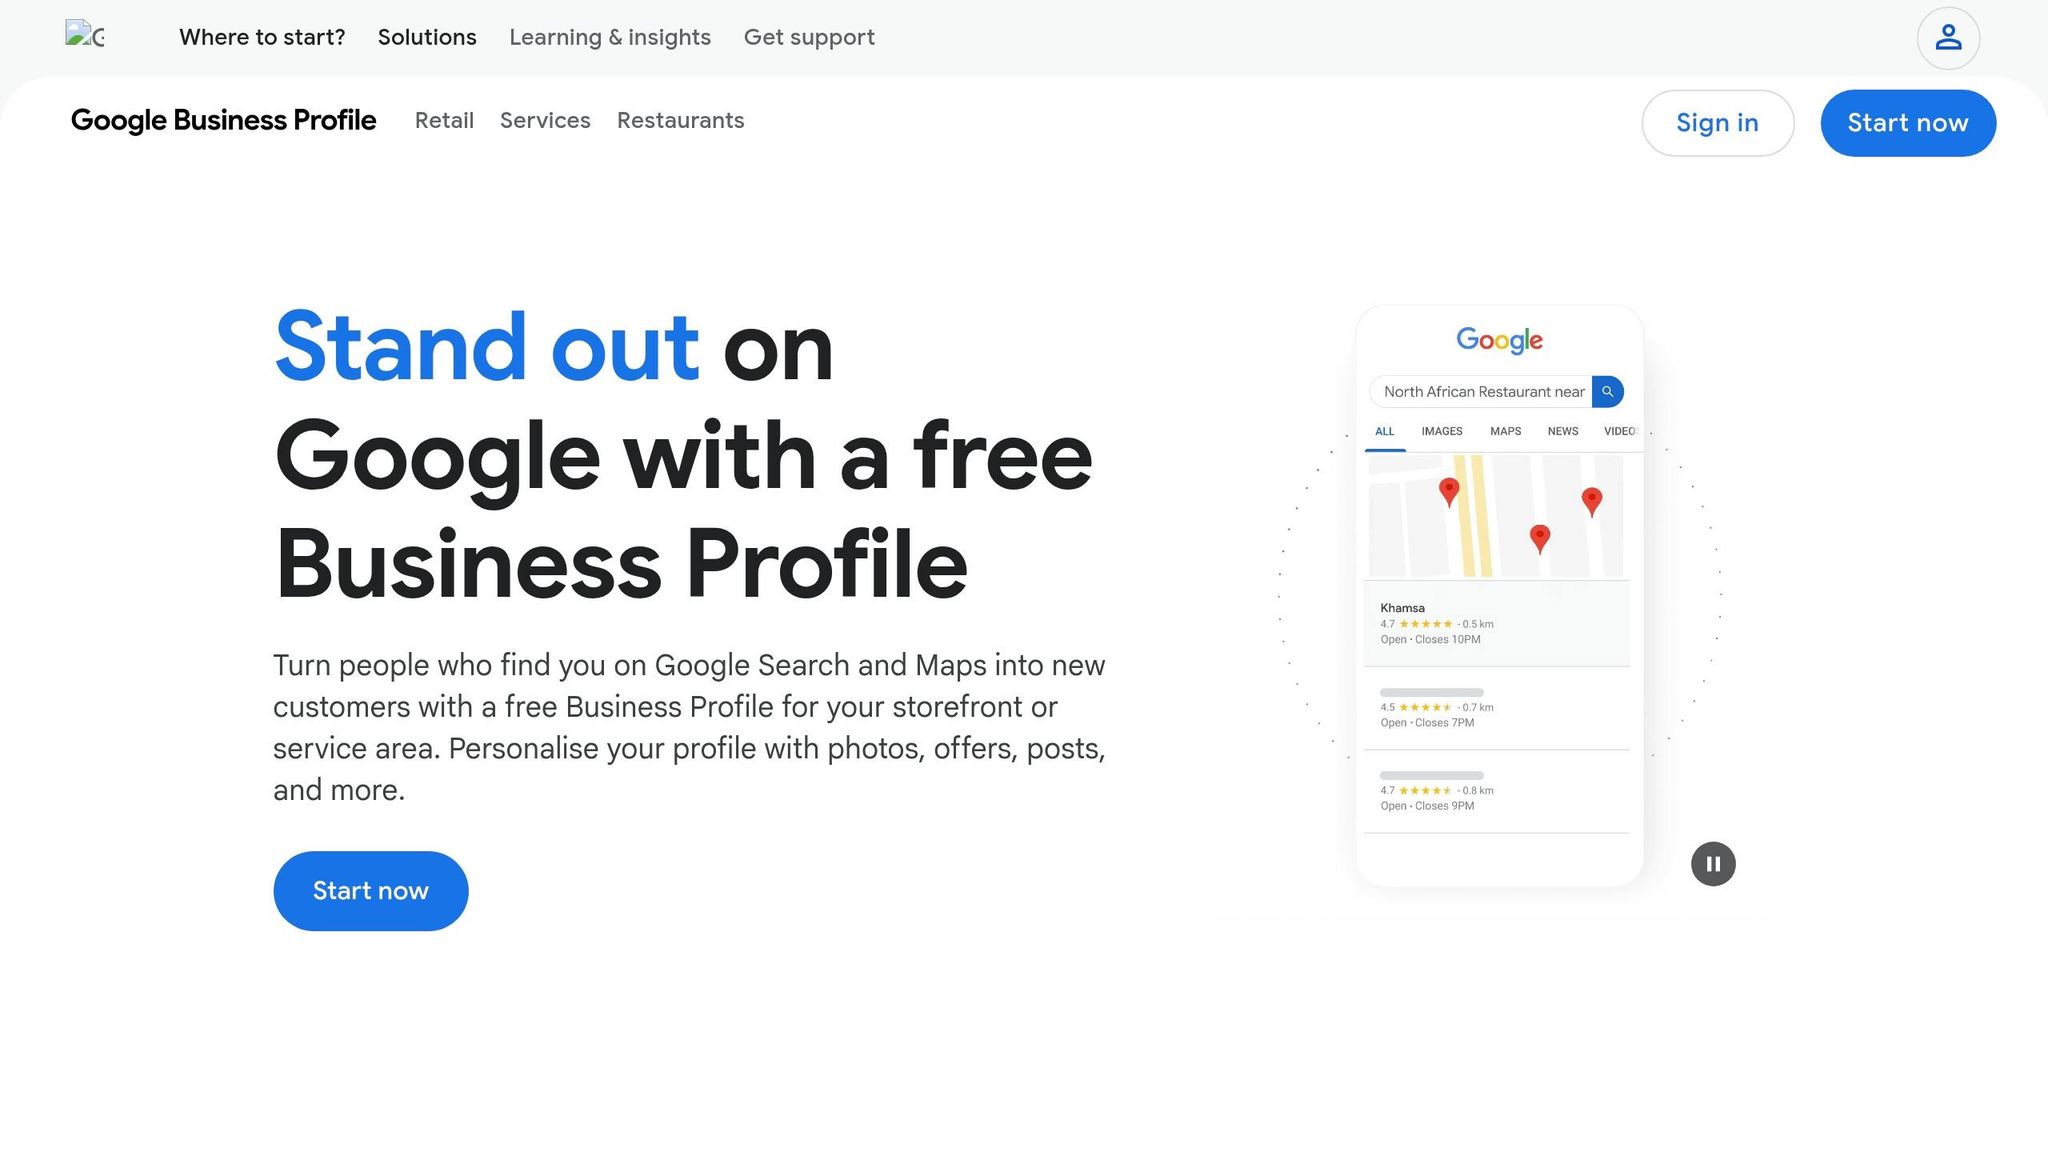
Start by checking if your Bay Area restaurant already has a Google Business Profile. Even if you haven’t created one, Google often generates listings automatically from public records. To find your listing, open Google Maps and search for your restaurant's name and city - for example, "Bella Trattoria San Francisco." If a profile exists, you’ll see a link like "Claim this business" or "Own this business?" on the listing [7][3].
Alternatively, log into your Google Account and search for "my business" to see if any profiles are already associated with your account [7]. If you don’t find a listing, you can create one by visiting business.google.com/add. The best part? Setting up a profile won’t cost you a dime [3].
If someone else has already verified the listing - perhaps a former employee, previous owner, or a marketing agency - you’ll need to request access. Google has a process for this, and if the current owner doesn’t respond within seven days, ownership could automatically transfer to you [8].
Once you’ve claimed the listing, the next step is verifying your ownership.
After claiming your listing, you’ll need to verify that you own or manage the restaurant. Verification gives you the ability to update details, respond to reviews, and add features like reservation tools. Google will assign your verification method automatically based on your business information [7].
The most common option is verification by postcard, which is mailed to your restaurant and usually arrives within 5 to 14 days. Once you receive it, enter the code promptly and avoid changing any business details during this time [7][8]. Other verification methods include:
Verification usually takes up to five business days once you’ve completed the required steps [7]. The benefits are well worth it: verified profiles show up 80% more often in search results and drive four times more website visits compared to unverified ones [8]. Restaurants in the Bay Area with verified profiles see an average of 595 calls per year and 1,803 monthly views from Google searches. Most of these views come from people discovering your restaurant for the first time, rather than searching for it by name [8].
Consistency is key when it comes to your business information. Your NAP - name, address, phone number - should be exactly the same across your Google Business Profile, website, Yelp, and social media accounts. If Google detects conflicting information, it can harm your rankings because it won’t know which version is correct [2][10].
Stick to the name that’s on your storefront signage and menus. Adding extra keywords or slogans to your business name is a no-go. Google's guidelines emphasize: "Represent your business as it's consistently represented and recognized in the real world across signage, stationery, and other branding" [4]. Breaking this rule could lead to your profile being suspended.
Make sure to complete every field Google offers. Use the "More hours" feature to specify service times, such as brunch hours, happy hour, or delivery windows. This level of detail is especially helpful in areas like the Bay Area, where diners often search for restaurants open at specific times [10]. And don’t forget to include tracking parameters so you can monitor reservations.
Once the basics are covered, it’s time to focus on visuals and menu accessibility.
After filling out your business details, bring your listing to life with visuals. Photos are a game-changer for engagement. Restaurants with more than 100 photos receive 520% more phone calls and 2,717% more direction requests compared to the average listing [10].
Post high-quality images that highlight your best dishes, signature drinks, dining areas, and even your team - it adds a personal touch. Include exterior shots so customers can easily recognize your location. Use bright, well-lit photos with a resolution of at least 720x720 pixels, and update your gallery regularly to keep it fresh and engaging.
When it comes to your menu, link directly to an HTML menu hosted on your website instead of a PDF. Why? Because Google can read HTML text, which means your menu items can appear in search results for phrases like "spaghetti carbonara near me" [10]. You can also use Google’s built-in menu editor to add sections, descriptions, and prices. Including pricing is important - searches for terms like "menu with prices" are incredibly common.
Accurate categorization is another critical step to make your profile more discoverable. Start with a specific primary category - think "Italian Restaurant" instead of the more general "Restaurant." This is important because 84% of Google Business Profile views come from discovery searches, where users search for a type of cuisine rather than a specific restaurant name [10].
You can also add up to nine secondary categories to cover broader searches. For example, a pizza place could include categories like "Pizza Delivery", "Wine Bar", or "Catering." Beyond categories, attributes help refine your profile even further. Select options like "Outdoor seating", "Takes reservations", "Wi-Fi", "Wheelchair accessible", and dietary tags like "Vegetarian options" or "Halal." These attributes act as filters for users searching with specific needs [9][10].
Keep your attributes up to date by reviewing them every few months. Google often adds new options, such as "heated outdoor seating" or "gender-neutral restrooms", and staying updated ensures you show up in more filtered search results [10]. Additionally, anticipate common customer questions - like parking availability or patio rules - and add answers to your profile to save time and provide clarity [10][12].
Expanding your reach starts with adding service areas to your Google Business Profile. This step tells Google exactly which neighborhoods you want to target - whether you're focused on delivery, takeout, or simply attracting nearby customers.
You can include up to 20 specific service areas by listing cities, postal codes, or neighborhood names [16][18]. For instance, instead of broadly listing "San Francisco", highlight high-traffic areas like SOMA, Mission District, or Castro. This is crucial because 67% of Bay Area searchers use specific location modifiers when looking for services [17]. If you're based in Oakland, consider adding nearby spots like Berkeley, Alameda, and Emeryville to appeal to diners who live or work in those areas.
Google recommends listing service areas within a 2-hour drive [16][18]. If your business offers both dine-in and delivery, you qualify as a "hybrid business", meaning you should list both your physical address and your service areas [16][18]. This dual strategy helps you rank for searches like "Italian delivery in Palo Alto" while still appearing in "restaurants near me" searches for those near your physical location. Once you've set up your service areas, managing customer feedback becomes the next key step to boost your visibility.
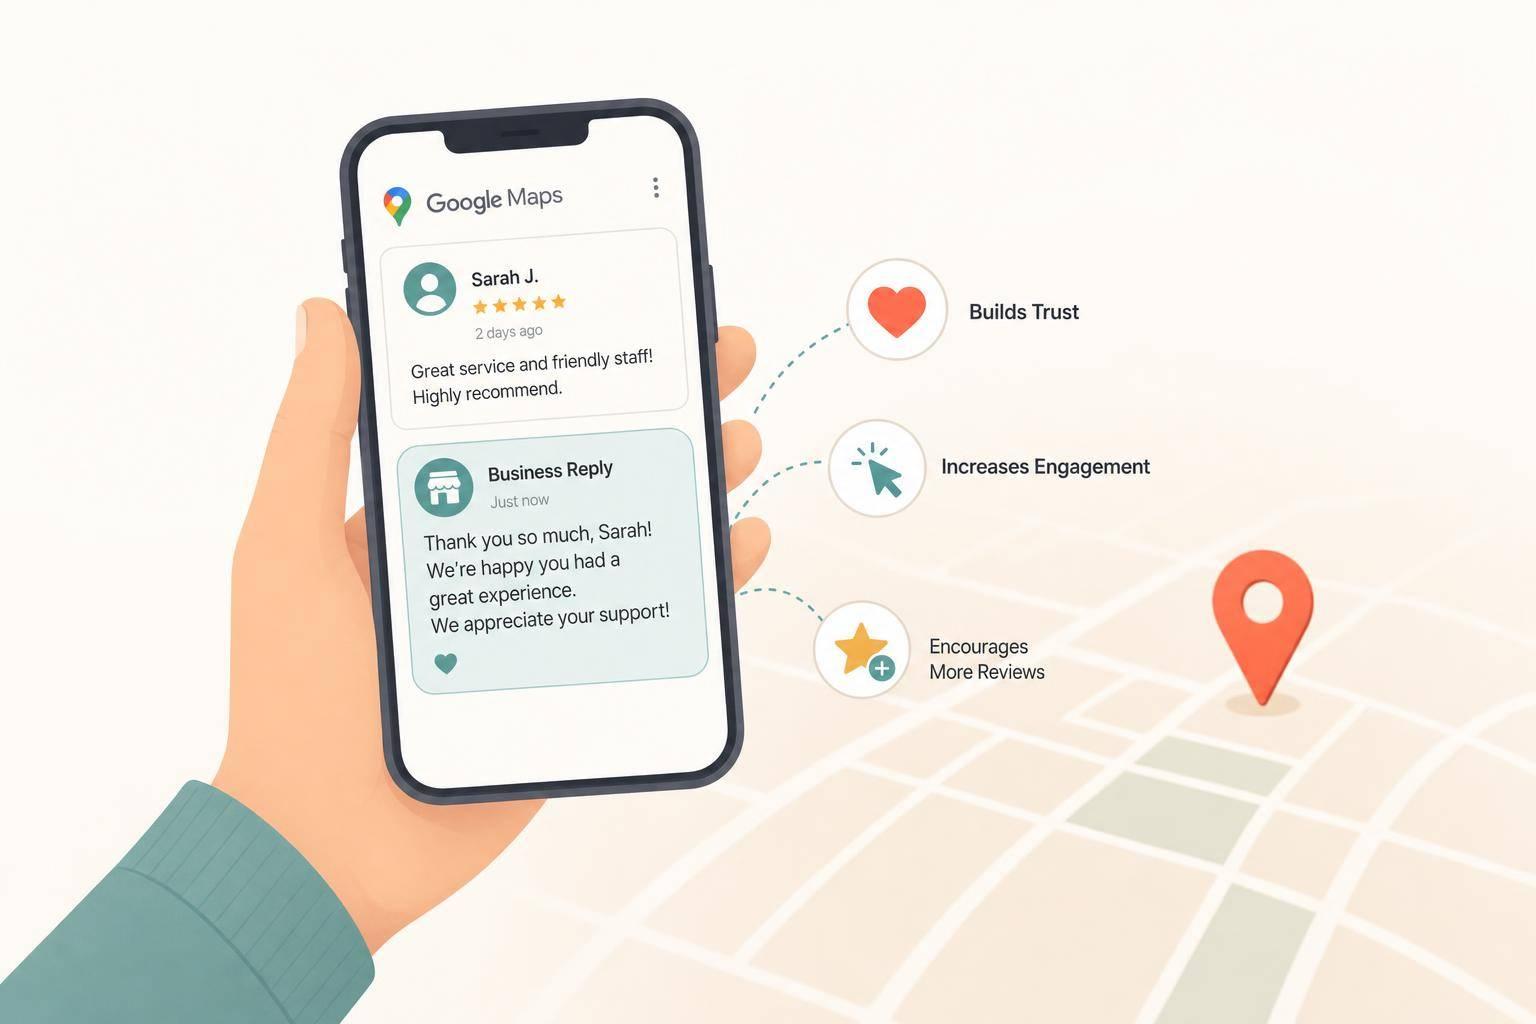
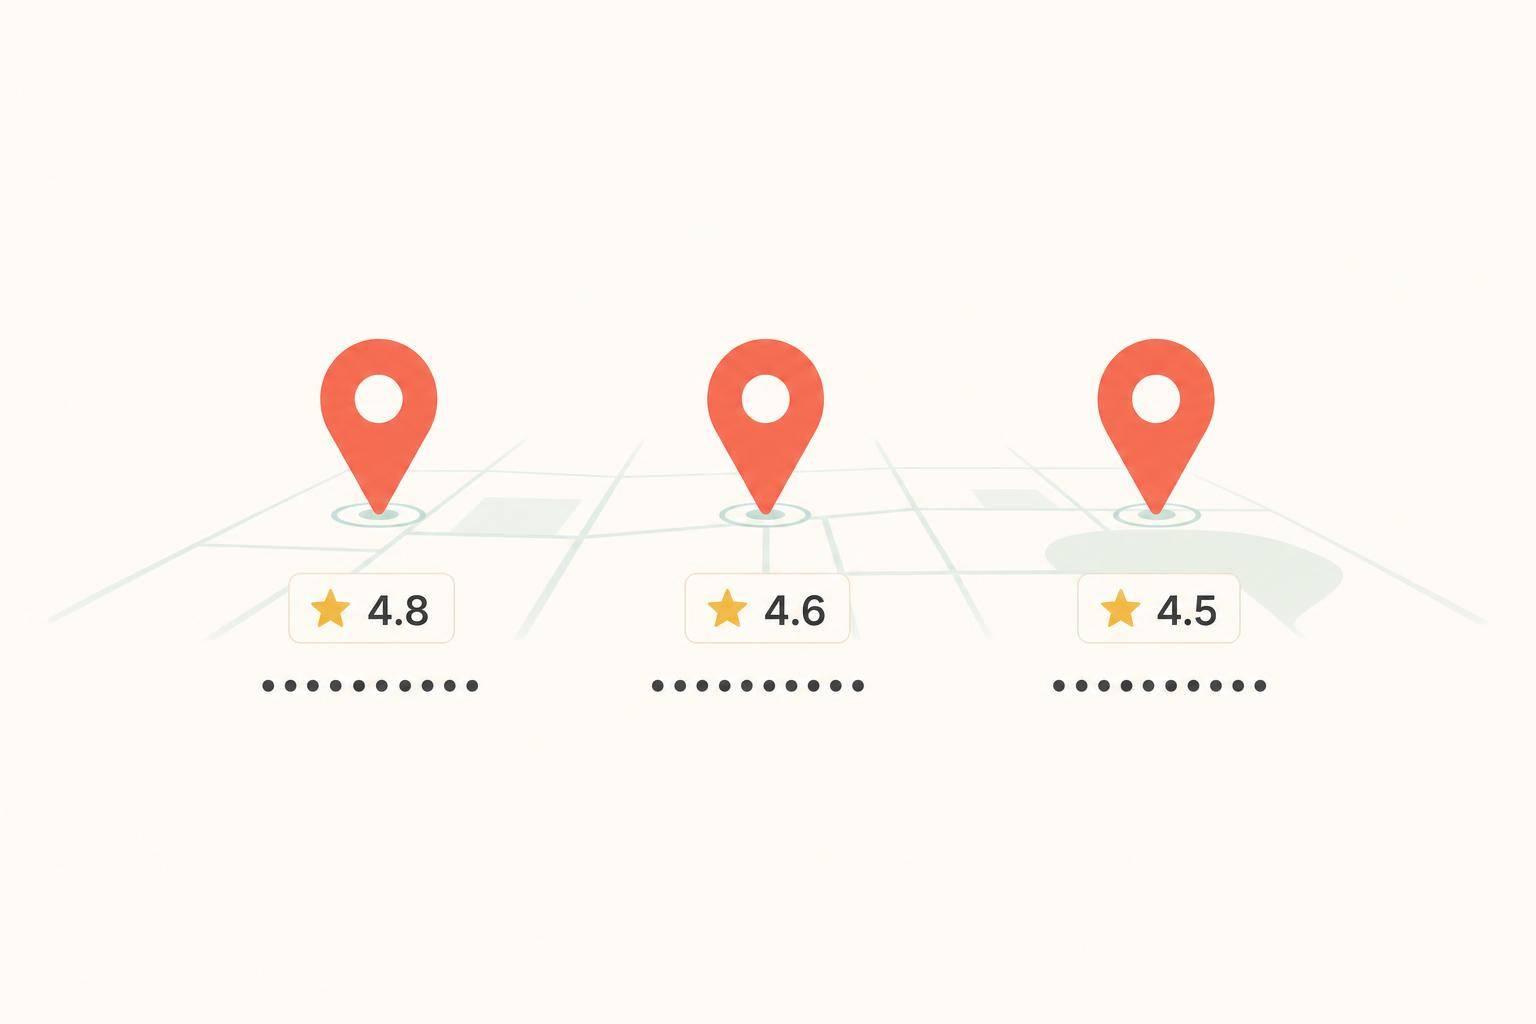
While service areas expand your reach, reviews play a major role in strengthening your local presence. They are one of the most influential factors for ranking on Google Maps and in local search results. A one-star rating increase can lead to a revenue boost of 5% to 9% for restaurants [13]. Additionally, restaurants in the top three search results - the "Local Pack" - capture 42% of all clicks from local searches [19].
To encourage reviews, use tools like QR codes on receipts or table tents and send follow-up emails with direct review links. Timing matters - ask for reviews while the dining experience is still fresh in customers' minds [15].
Responding to reviews is just as important as getting them. Studies show that 89% of consumers check how businesses respond to reviews before deciding where to dine [19]. For positive reviews, thank your customers and consider sharing standout feedback on social media. For negative reviews, aim to respond within 48 hours. A professional apology and an offer to resolve the issue offline can make a big difference [19]. This not only demonstrates that you value customer satisfaction but also boosts your ranking in local search results.
"Respond promptly and professionally, explaining your side and inviting direct contact. Flag fake reviews for removal, but focus on maintaining a constructive tone to build public trust" [15].
If you encounter suspicious one-star reviews, such as scams demanding payment to stop, do not pay. Instead, flag these reviews through Google Business Profile Support and document the extortion attempt. In July 2022, Bay Area restaurants like Nightbird, Acquerello, and Californios faced such scams. Chef Kim Alter of Nightbird successfully resolved the issue by working with Google Business Profile Support and raising awareness [14].
First, make sure your Google Business Profile is verified and linked to an approved reservation provider [5][11]. Google itself doesn’t handle reservations directly. Instead, it syncs real-time availability through third-party platforms like OpenTable, Resy, Waitly, or Servme [5][20].
The connection process depends on the provider you choose. Start by signing in to your Google Business Profile dashboard. From there, select the Bookings option and click Get started to browse supported third-party providers [21]. Some providers, like Waitly, require you to link your Google Business Profile within their platform’s settings and set up your table availability and seating arrangements [5].
Activation times can vary. For instance, Servme typically activates in under 24 hours, while other platforms may take up to a week [20][21]. Google doesn’t charge per-booking commissions for Reserve with Google - it’s free for restaurants. However, keep in mind that your chosen provider may have its own fees. For example, Waitly Pro includes the integration without additional per-reservation costs, while other platforms might charge a flat monthly fee plus a fee per cover [5][21].
Once your reservation platform is connected, you’re ready to enable direct booking features on your profile.
The "Book a Table" button will appear on your restaurant’s Google Search and Maps listing [5][20]. This feature transforms profile visits into reservations, making it easier for customers to secure a table while boosting your conversion rates.
If you ever need to temporarily disable the button - say, during a busy Friday night when you want to prioritize walk-ins - you can do so through your provider’s dashboard [20]. Additionally, if your restaurant often has long wait times, some providers offer a "Join Waitlist" button, which you can activate via the Bookings tab [21][22].
Tap the "Performance" button on your Google Business Profile in Search or Maps to access key metrics like completed reservations, menu clicks, and the keywords diners use to find your business. For example:
You can also set a date range to identify your busiest days and peak times for customer interactions. If you notice a high number of direction requests but few website clicks, it might indicate issues like broken links or a confusing menu layout. Google separates search data into Discovery searches (when users look for a category, like "sushi") and Direct searches (when users specifically search for your restaurant). A drop in Discovery searches could mean it’s time to revisit your business categories.
Use these insights to fine-tune your reservation strategy or update service details. Don’t forget to check your Q&A section weekly - unanswered questions left for more than seven days might get incorrect responses from other users. You can also use this data to craft Google Posts that align with local events and specials.
Metrics are just part of the story. Real-time updates can help you connect with local diners. Google Posts are a great way to promote specials, events, or menu items. Posting around 9 AM on Mondays can increase visibility as diners plan their week. For Bay Area-specific events, like Outside Lands, Fleet Week, or street festivals, tailor your posts to capture spikes in local search traffic.
"Google now shows available reservations in real time, making it easier for guests to make a reservation quickly without navigating multiple pages or extra clicks."
- Ashley Do, Google Partnerships [6]
Analyze your post insights to see which specials or events resonate most with your audience. Use the "Special hours" section to update your availability for holidays or local happenings, ensuring your information stays accurate during busy periods. You can even link your social media accounts to let Google pull in fresh content for discovery search modules. Combined with an optimized profile, these updates can bring in more local diners.
Alongside Google's built-in tools, Humble Help offers free resources designed to elevate your restaurant’s online presence.
Milo is a free AI-powered marketing coach tailored for Bay Area restaurant owners. It provides clear, actionable recommendations to improve your Google visibility and attract more reservations. By analyzing your Google Business Profile, Milo offers targeted advice like incorporating high-impact keywords, automating Google Posts, and even using AI-generated review templates [6][19].
In addition to recommendations, Milo automates tasks like responding to reviews and tracking performance, freeing up your time to focus on running your restaurant [19]. It also uses local search trends and competitor insights to identify areas where your profile could improve, helping you stand out in the highly competitive Bay Area market [6][19]. As Humble Help explains:
"Get easy, step‐by‐step advice on what to improve and what to do next" [24].
To complement Milo’s advice, Humble Help offers an Analytics Dashboard for a complete overview of your marketing performance.
The Analytics Dashboard from Humble Help simplifies your marketing data, consolidating it into a single, easy-to-read display. It tracks key metrics like website traffic, Google Business Profile performance, and reservation trends [23]. You can see how customers discover your restaurant - whether through Google Maps, organic search, or direct queries [23].
The dashboard also highlights the balance between general discovery searches and direct searches for your restaurant. This insight helps you determine if you’re attracting new diners or primarily engaging your loyal customer base [6][23]. Additionally, it monitors direction requests, website clicks, and reservation activity, giving you a clear view of your marketing ROI [6][19]. With this data, you can quickly identify underperforming areas and adjust your Google Business Profile updates or posts to maximize results [23].
"See how people find your business and what's working - all in one simple dashboard." - Humble Help [23]
Both Milo and the Analytics Dashboard are free for small and local businesses, working together to simplify marketing decisions and eliminate guesswork [24].
To boost reservations through Google, focus on four key actions: verify your Google Business Profile (GBP), refine your profile details, integrate a booking tool, and keep track of your performance. These steps are straightforward but essential for standing out in the highly competitive Bay Area restaurant scene. With one in three people starting their meal search on Google [6][1] and 46% of "near me" searches having local intent [6], these strategies can help your restaurant attract more diners.
Google's free tools offer small restaurants a chance to compete with larger chains by making it easier to secure bookings. Ashley Do from Google Partnerships highlights this advantage:
"An optimized GBP increases your local discoverability and makes it easy for diners to book with you. Done right, it's a tool for local marketing that helps diners find exactly the information they care about and gets them in the door." [6]
The success of Là Phin Café & Bar illustrates the power of these tools. After integrating Eat App with Reserve with Google, the café saw a notable rise in reservations, especially from new customers, in March 2026 [1]. Features like real-time availability and automatic confirmations simplified table management directly through Google Search and Maps. By adopting similar strategies and regularly updating your profile, your restaurant can achieve comparable growth and attract more diners.
Google Business Profile verification typically takes around 15 minutes when you opt for video verification. However, the exact duration can depend on the verification method you select and other influencing factors. For the best results, follow the specific instructions for your chosen method carefully.
If your restaurant isn’t showing up on Google Maps, it could be due to problems like an unverified or suspended Google Business Profile. To address this, start by claiming and verifying your profile. This often involves completing Google’s verification process, such as entering a code sent to you via postcard.
Additionally, double-check that your profile is fully filled out and accurate. Consistent Name, Address, and Phone (NAP) details across all platforms play a big role in improving your visibility on Google Maps.
To activate the “Book a table” button, start by making sure your Google Business Profile is active, verified, and up-to-date. Next, connect your profile with a Reserve with Google partner, like a supported booking provider. Once the connection is set up, the button will appear on your Google listing, letting customers book reservations directly through Google Search or Maps.
Discover strategies to elevate your business.