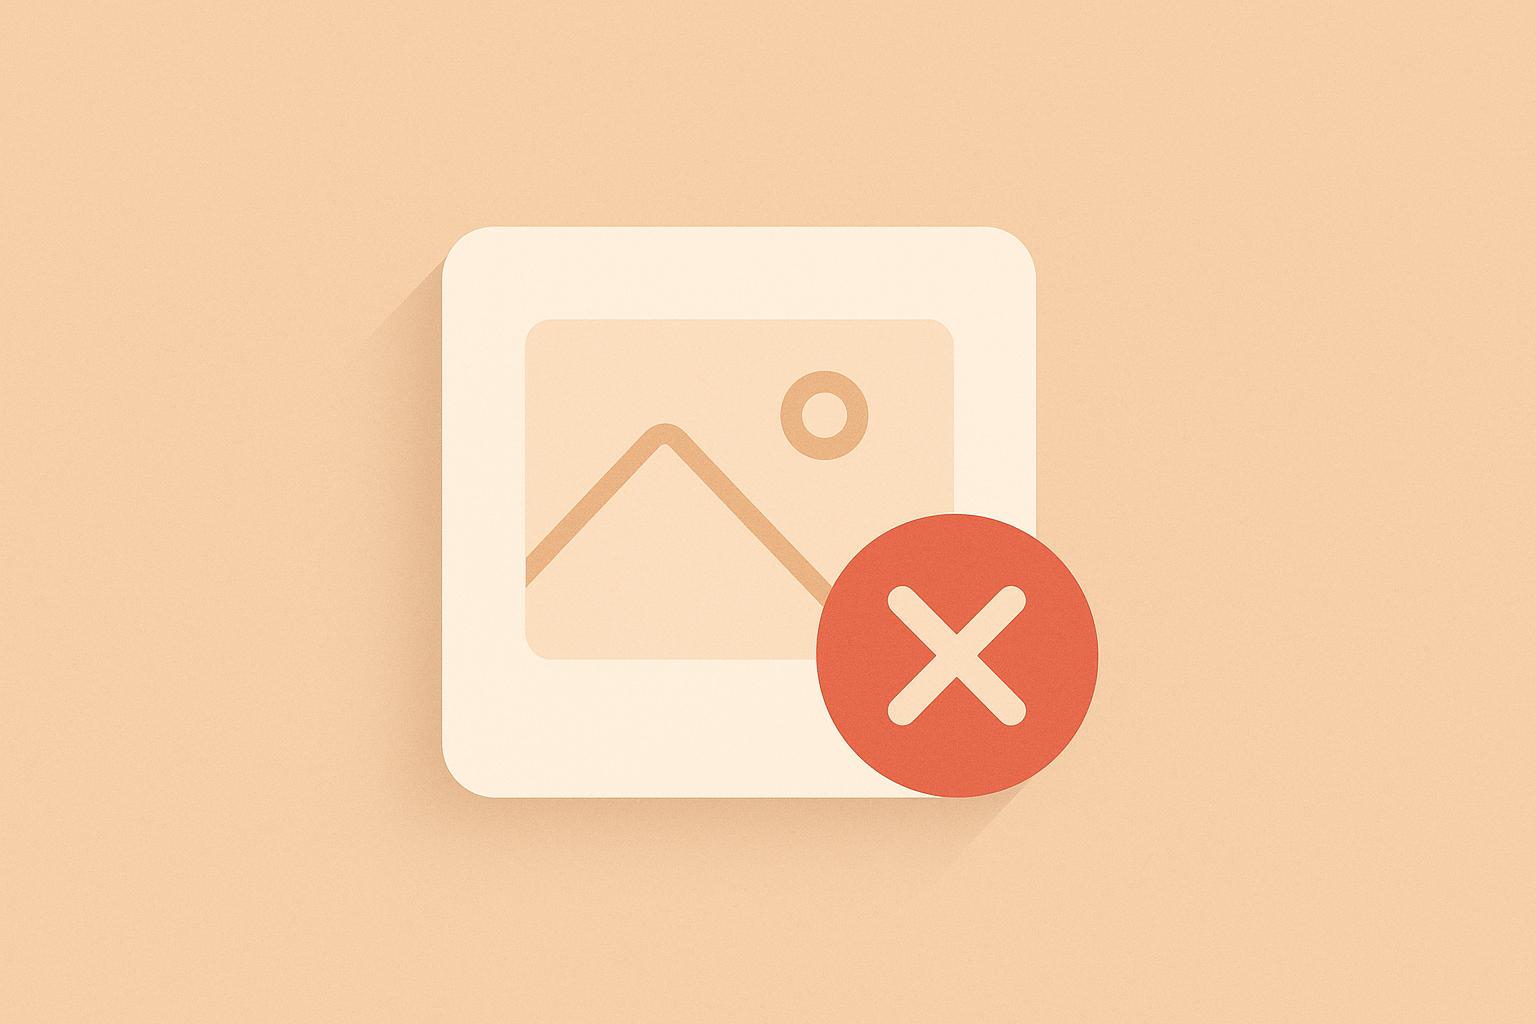
If your Google Business photos keep getting rejected, it’s likely due to technical issues, content violations, or account-related factors. Here’s a quick guide to fix and re-upload them successfully:
High-quality, approved photos improve your visibility on Google Search and Maps. Follow these steps to resolve rejections and showcase your business effectively.
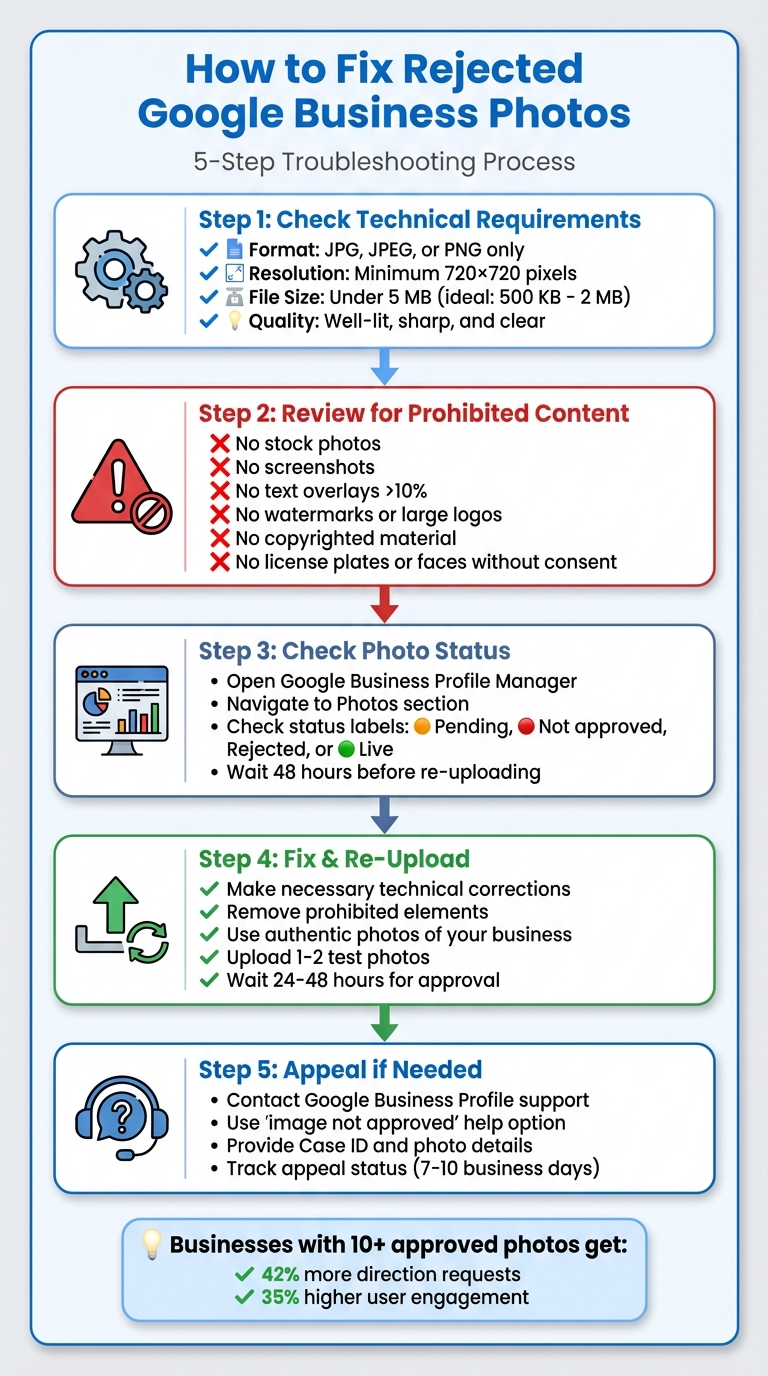
5-Step Process to Fix Rejected Google Business Photos
Google uses a combination of technical standards, content rules, and profile trust metrics to determine whether your photos get published or flagged. By understanding these three layers, you can significantly reduce the chances of rejection before hitting the upload button.
Google only accepts photos in JPG, JPEG, or PNG formats - other formats like GIF, TIFF, or RAW won’t make the cut [3]. The minimum resolution is 720×720 pixels, but higher resolutions tend to perform better [3]. File sizes must stay under 5 MB, though keeping them within the 500 KB to 2 MB range ensures smoother uploads, especially on mobile connections across the U.S. [3].
Quality is key: make sure your images are well-lit, sharp, and clear [1][2]. Natural daylight often works best, so avoid harsh filters that distort colors. Take multiple shots from different angles to choose the clearest and most accurate representation of your subject.
Google enforces strict rules about what you can and can’t upload. For starters, stock photos - those generic images that don’t actually depict your business, staff, or services - are not allowed and are often flagged [1][3]. Similarly, screenshots of menus, social media posts, or websites are explicitly prohibited and will likely be auto-rejected [3].
Avoid images with watermarks, large logos, or banners that cover more than 10% of the frame, as these are also commonly removed [2][3][6]. Offensive or inappropriate content - such as nudity, graphic violence, hate symbols, or extremist material - will not only get rejected but could also lead to your profile being suspended [1][2][3].
Privacy is another major concern. Photos showing license plates, identifiable faces of bystanders, or sensitive information (especially in 360-degree images) can trigger rejection [3]. Additionally, using copyrighted material or unlicensed stock photos can lead to both rejection and potential legal action [1][2][3].
For businesses in regulated industries like bars, firearms retailers, cannabis dispensaries, or certain medical services, Google expects content to align with local laws. For example, a licensed bar can show patrons enjoying drinks in a casual setting, but images focusing on excessive drinking, intoxication, or minors near alcohol are likely to be removed [1]. Similarly, firearms retailers should stick to neutral photos, such as storefronts or showrooms, avoiding anything that glamorizes weapons or depicts unsafe handling.
The status of your Google profile also plays a role in photo approvals. New or recently reinstated profiles and those with a history of policy violations often face stricter scrutiny, which can lead to delayed approvals [3][4]. If your profile is unverified or has a track record of issues - like uploading prohibited content, misusing text overlays, or spamming duplicate images - Google’s systems may flag your uploads more often, resulting in slower approvals or outright rejections [1][3][4].
To rebuild trust, start by removing any old, problematic images. Focus on uploading authentic, high-quality photos that comply with Google’s policies. Consistently following these guidelines over several weeks or months can help restore your profile’s standing and lead to smoother auto-approvals in the future [3][4].
Next, we’ll cover how to identify why a photo was rejected and what steps you can take to fix it.
Once you’ve ensured your photo meets the outlined requirements, the next step is figuring out why it may have been flagged. Google typically flags photos for either technical issues or content violations.
Start by opening your Google Business Profile Manager. Navigate to the Photos section, where you’ll see status labels next to each uploaded image. These labels might indicate statuses like "Pending", "Not approved", "Rejected", or, if all is well, the photo may already be live on your profile. It’s worth noting that some photos initially marked as "Not approved" could still go live within 48 hours.
Avoid re-uploading a photo right away. Google's review process can take anywhere from just a few minutes to up to 48 hours. Sometimes, photos that seem rejected at first are later approved after automated re-evaluations. Waiting the full two days before taking further action can save you from unnecessary duplicate uploads or wasted effort.
If the status hasn’t changed after 48 hours, it’s time to double-check the photo’s technical details.
Ensure your photo meets Google’s technical requirements:
You can easily check these details using your computer’s file properties or tools like Adobe Express. If the image is a screenshot, a PDF export, or has been overly compressed, try re-saving it as a high-quality JPG or PNG. Low-quality images are often flagged for rejection.
Once you’ve confirmed the technical specs, move on to reviewing the content of the photo itself.
Now, take a closer look at what’s actually in the image. Google’s automated systems are designed to flag photos that don’t clearly represent your real business, staff, products, or location. Here are some common reasons photos get flagged:
For instance, promotional text like "50% Off" or a large branded banner can easily trigger rejection. Also, watch out for elements like customer faces without consent, visible license plates, or anything that could be deemed unsafe, graphic, political, or discriminatory.
Beyond content, the quality of the photo matters too. Images that are too dark, grainy, overexposed, or cluttered are less likely to be approved. Bright, well-framed photos of your storefront, interior, or services generally perform better and are less likely to be flagged.
If your photo meets all technical and content standards but is still rejected for more than one to two weeks, it’s possible you’re dealing with a moderation error. In that case, you’ll need to appeal the rejection, which will be discussed in a later section.
Once you understand why your photo was rejected, it's time to make the necessary adjustments and try uploading it again. Most issues can be resolved with simple edits using tools like Adobe Express, Canva, or even built-in phone editors.
Start by addressing any technical issues flagged in your photo. Make sure it meets the required format (JPG, JPEG, or PNG), has a resolution of at least 720×720 pixels, and stays under 5 MB in size. For example, exporting the image at 70–80% quality in JPG format usually works well [3]. Next, crop the image to focus on the main subject and minimize any distracting elements in the background. If the image looks too dark, blurry, or washed out, tweak the brightness, contrast, and sharpness. Be cautious with filters - overdoing them can make the colors look unnatural.
Carefully review your photo’s content. Images with text overlays, promotional banners, phone numbers, or large logos that cover more than 10% of the image are common reasons for rejection. If possible, re-upload the original photo without these elements. If the original isn't available, crop out the text-heavy areas or re-shoot the scene without any graphic overlays. The same goes for watermarks - if branding is necessary, keep it subtle, like a small logo in the corner or naturally integrated into elements like storefront signs or staff uniforms.
Replace any stock photos or images pulled from the web with authentic pictures of your business. Capture real-life shots of your storefront (with clear signage), key interior spaces, your team in action (with their consent), and your products or services. If taking new photos is tricky, consider hiring a local service like Humble Help (https://humblehelp.studio) to get high-quality, compliant images.
Lastly, ensure privacy by cropping or blurring sensitive details like customer faces, license plates, or other personal information.
After making corrections, test by uploading one or two updated photos. Allow 24–48 hours to see if they’re approved [4]. Check your Google Business Profile dashboard after a day - if the photos show up on your public listing in Search and Maps, your edits were successful. If they’re still rejected after 48 hours and no clear reason is provided, refine your edits further. If the issue persists, it might be due to a temporary review glitch. In such cases, pause additional uploads and prepare to appeal the rejection in the next steps.
If you've tackled all the technical and content-related fixes but your photos are still being rejected, the issue might be tied to temporary bugs, account-level flags, or overly strict review filters on Google's end. Even after addressing technical adjustments, persistent rejections - especially for compliant images like storefront shots, interior views, or team photos - can signal a deeper problem. When this happens, it’s time to move beyond troubleshooting on your own and consider reaching out to Google support.
You should contact Google Business Profile support if you notice a consistent pattern of photo rejections. For example, if all new photos are being rejected for over 48 hours despite meeting Google's basic requirements - such as the 720×720-pixel minimum size, file sizes under 5 MB, and no text overlays or watermarks - it’s likely a systemic issue [3]. Similarly, if photos that were previously accepted suddenly start failing, or if multiple team members using different devices experience the same problem, this points to a broader issue on Google's side [3][4]. Newly created or reinstated profiles are also more likely to trigger Google’s review filters, which only their support team can address [3][4].
If contacting support becomes necessary, here’s how to submit an effective appeal. In 2023, Google introduced a dedicated photo appeal process that directs cases to the right support team [3]. To begin, log in to the Google Business Profile Help portal using the account managing your listing. In the help search bar, type "image not approved" and select the option closest to "fix photo that doesn't show" [3]. From there, choose Email (or Chat/Phone if available in your region) and complete the form with your business details, including the name, address, and profile URL. In your description, explain that your photos meet Google’s guidelines, note the types of photos involved (storefront, interior, team, or product), and mention how many times and over what period they’ve been rejected [3]. Attach only the rejected photos and make sure to save the Case ID for tracking [3].
To stay organized, keep a record of your Case ID, submission date, photo details, and any responses from Google in a spreadsheet [3]. Check your email regularly (including the spam folder) for updates, and respond promptly to any follow-up requests in the same email thread [3]. If you don’t hear back within 7–10 business days, reply to the original support email with your Case ID and request a status update [3].
While your appeal is under review, avoid re-uploading the same rejected photos, as repeated attempts can be flagged as spam [3][5]. If you need to test new images, upload only a few clearly compliant photos - like a fresh storefront picture without text overlays - and document the changes you’ve made. If the problem persists and starts affecting how your business appears on Google Maps or local search results, it might be worth consulting a local search expert. Services such as Humble Help can review your photos, ensure they meet Google’s policies, manage communication with support, and set up systems to minimize future rejections.
To fix rejected photos, start by identifying the issues, removing any prohibited elements, and re-uploading the images while ensuring they meet the required specifications (minimum 720×720 pixels, JPG/PNG). Sticking to Google's guidelines not only minimizes rejections but also strengthens customer trust by presenting visuals that genuinely reflect your business.
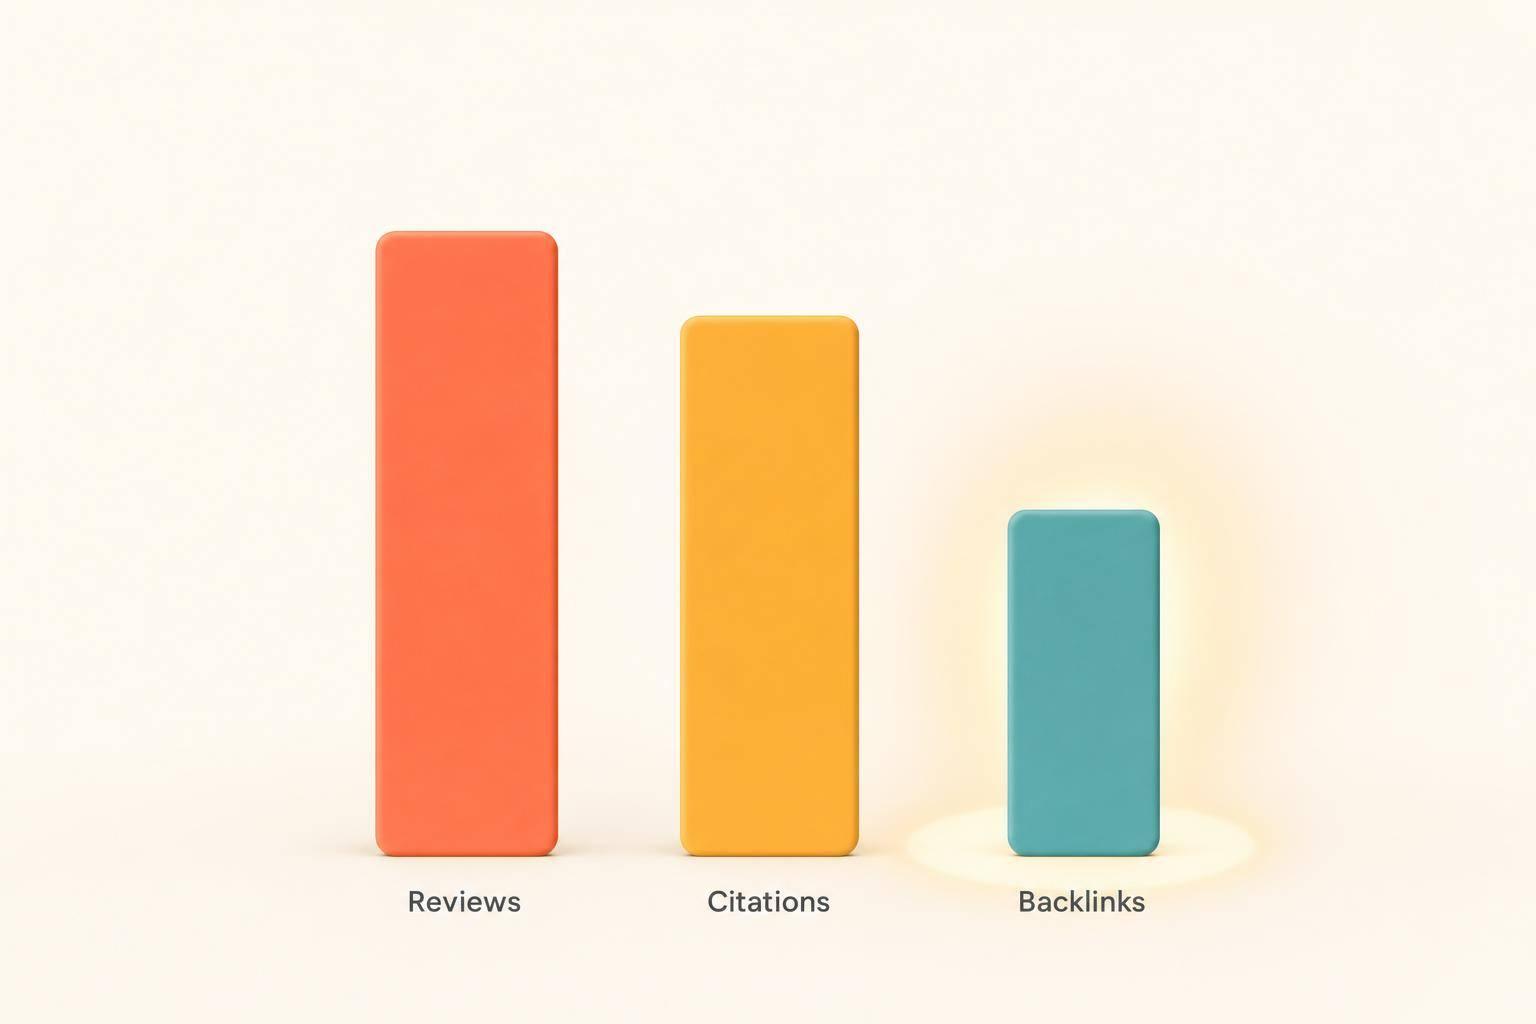
Businesses with 10 or more approved photos often experience notable benefits, including up to 42% more direction requests and 35% higher user engagement [7]. Meeting Google's photo standards can significantly improve your visibility on both Google Search and Maps.
If you've addressed technical problems and removed restricted content but your photos are still being rejected, avoid repeatedly uploading them, as this could trigger spam warnings. Instead, file an appeal through Google's Help Portal. Select the "image not approved" option, attach the rejected photos, and keep track of your case ID for follow-ups. Use the updated photo appeal form if necessary.
In addition to handling appeals, stay proactive by regularly reviewing your photo quality. Refresh your images to keep your profile engaging and monitor your dashboard for any updates or status changes. If you're a business in the SF Bay Area facing ongoing challenges, services like Humble Help can assist by optimizing your photos, ensuring compliance with Google's standards, and managing support communications - allowing you to focus on running your business.
Google might reject photos on your Business Profile for a variety of reasons. Some of the most common include low-quality images - think blurry, pixelated, or poorly lit photos. Images that feature inappropriate content, misrepresent your business, or violate Google's content policies are also likely to be turned down.
To minimize the chances of rejection, make sure your photos are sharp, well-lit, and clearly connected to your business. Stick to Google's guidelines to keep your profile looking professional and reliable.
If your photo gets rejected on Google Business, you have two options: appeal the decision or upload a new photo that aligns with Google's guidelines. First, check the reason for the rejection and make sure your photo follows all policy requirements, such as having appropriate content and correct formatting.
To take action, log in to your Google Business Profile dashboard. From there, you can either file an appeal or upload a revised photo. If you're unsure about the guidelines or need assistance, services like Humble Help can provide expert support for improving your business's online presence.
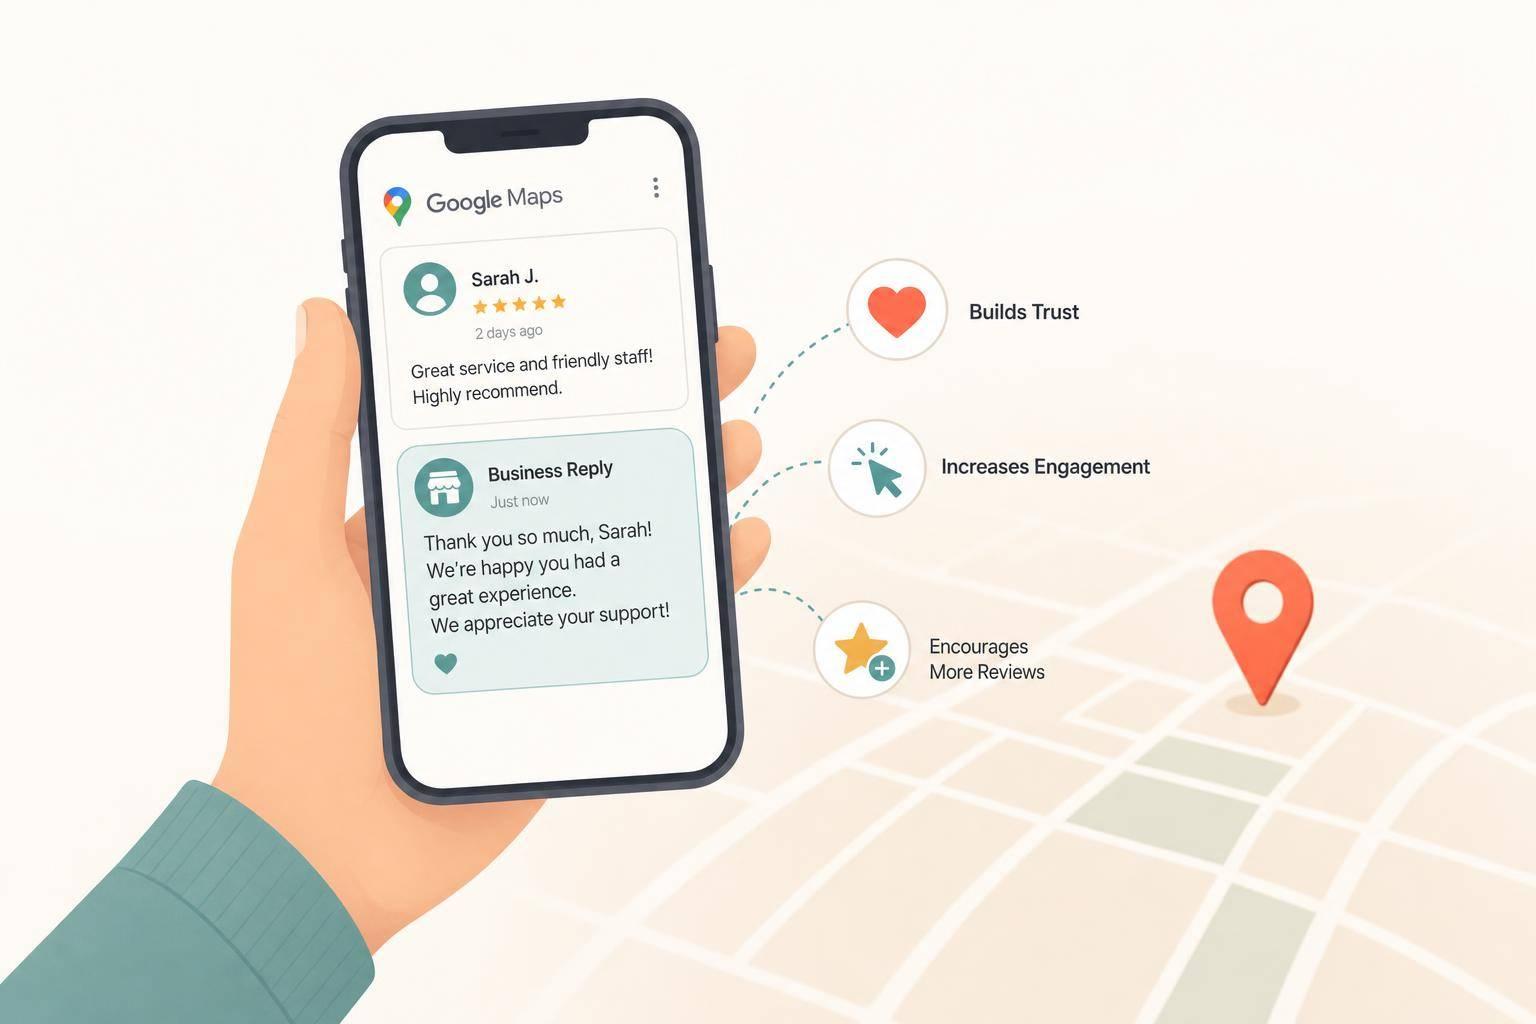
The quality of the photos on your Google Business profile can make a world of difference. Sharp, well-lit images grab attention, leave a positive impression, and build trust with potential customers. They show professionalism and can make your business feel more approachable.
Great photos don’t just look good - they also help your profile stand out in local search results. When people see appealing visuals, they’re more likely to click on your profile, explore your offerings, and ultimately choose your business over others.
Discover strategies to elevate your business.